
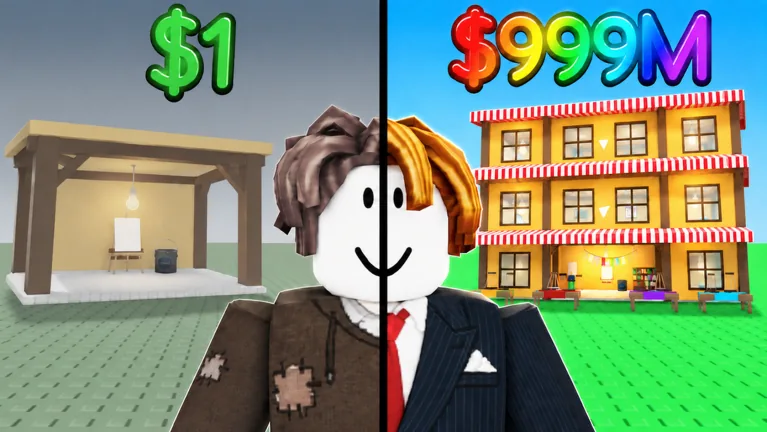
Read each Museum purchase panel before spending, then choose the feature that solves your current problem. Paint to Get Rich museum upgrades extend the painting and building loop into World 2, with additional displays and a new purchase area. That does not make every decoration an income multiplier or every purchase the best next step.
This guide starts after you have entered the Museum. If you are still at a locked entrance, use the Museum unlock guide to compare the current Worlds requirements first.
Inspect the new area before making a large purchase
Walk through the available purchase interactions and compare their descriptions with your cash balance. Look for what the game says the purchase adds: more space for artwork, an income-related benefit, a building feature, or decoration.
A familiar-looking feature from World 1 might have a different cost or effect in the Museum. Read the new panel before putting an old price in your budget. Do the same with values shown on another player’s advanced account.
Choose one immediate goal. If you have finished paintings with nowhere useful to display them, display space is a different priority from changing the look of the room. If the problem is slow cash growth, compare purchases that actually describe an income benefit before spending on appearance alone.
Separate capacity, income, and appearance
Classify the purchase by its stated effect. A single feature can have more than one described benefit, but do not add a cash bonus that the panel does not mention.
| Purchase purpose | What to read | How to judge it afterward |
|---|---|---|
| Display capacity | The available artwork spaces or display interaction | Check whether you can place the work you intended |
| Income or value benefit | The exact bonus wording and current cost | Compare relevant cash results with your previous setup |
| Building progression | The new area or feature it opens | Inspect the newly available interactions |
| Decoration | Appearance and any separately stated effect | Decide whether the look is worth the current price |
You can buy a decoration because you like it. Budget it as a visual choice if the game does not list an income effect. Your next cash target should not depend on a bonus you never bought.
Keep painting and selling while you build
The Museum continues the wider loop of creating artwork and developing the space around it. Finish work instead of leaving every canvas halfway through a design, then use the available selling and display interactions for your current world.
After a completed sale, check the cash received before choosing the next purchase. Appraisal and a collector’s initial offer are useful readings, but they are not money already available in your balance. The money guide explains that distinction.
Keep a short purchase plan instead of buying every available item at once. Note the next feature’s current cost and why you want it. When you have enough money, reread the description. Does it still solve the problem you set out to address?
Compare changes without copying boosted results
Large Museum sales from an account with paid boosts are not a starting benchmark for your own account. Before comparing income, check your current bonuses and note whether you bought something between the two sales.
Change one relevant purchase at a time when comparing results. Record a few completed sales before and after, including stars and appraisals. Those details help explain the difference; one valuable picture does not prove an upgrade formula that works for everyone.
If you mostly want a larger or more attractive museum, choose that goal openly. A building project can be worthwhile even when you are not measuring its return in cash. Separate the creative budget from the purchase you expect to improve income.
Inspect displayed artwork before replacing it
A Museum display can be confusing when the picture shown does not match what you expected. Before spending on a replacement or another display, compare the selected work, its name, and what the current interface shows.
Artwork-taking interactions and visual display problems are separate possibilities. An odd image alone does not prove that another player stole the painting. The display problems guide helps you record the mismatch, while the painting theft guide explains the demonstrated paid taking action.
Do not assume that more walls or a larger museum protect paintings. Buy those features for their stated purpose, then use the current interaction details to understand what happened to a particular artwork.
FAQ
What changes when I reach the Museum?
World 2 adds a Museum setting with another purchase area and additional display options. Inspect the live interactions to see what is available at your current stage.
Should I buy every Museum upgrade in order?
Choose using each current description and your goal. Do not expect one purchase order to be fastest for every account.
Does every decoration increase painting value?
Do not assume that. Count a value or income benefit only when the current purchase description states one.
Can I use World 1 costs for my Museum budget?
Read the Museum’s own prices. A similar-looking feature or an old gameplay example is not a reliable price list for your current world.
Will a larger Museum stop painting theft?
Do not rely on studio size or walls to protect paintings from the paid taking interaction. Buy building features for their stated effects rather than treating them as security features.